Loading cart contents...
How to Create Your Own Pascha (Easter) Candle
How to Create Your Own Pascha (Easter) Candle
![]()
I began making the vigil candle for our family’s parish two years ago. You can order a pre-made Pascha candle from many wonderful distributors, including Cathedral Candle Company (where our church purchases the plain option for painting upon), but have you ever wondered what it would take to create your own for your family or your parish?
When I began to create my first candle, I searched high and low for a complete guide on how to create an Orthodox Pascha candle, specifically for the Paschal Divine Liturgy. It didn’t exist, so after cobbling together a now tried-and-true method, I want to share it as a resource!
The History of the Pascha Candle
The tradition of the Pascha candle, dating back to at least the fourth century, symbolizes Christ’s triumph over death and His Divine light going out into the world. According to the church historian, Eusebius, Emperor Constantine “transformed the night of the sacred vigil into the brilliancy of day, by lighting throughout the whole city pillars of wax, while burning lamps illuminated every part, so that this mystic vigil was rendered brighter than the brightest daylight.”
During the Paschal Liturgy, the church stands in almost complete darkness. Then, the vigil candle is lit, and the priest sings: “Come ye and receive light from the unwaning light, and glorify Christ, who arose from the dead,” moving to light the candles of the young girls who come to the front. These girls hold a special place in the service, symbolizing the Myrrh Bearing Women at the tomb— the first to hear the truth of the Resurrection.
The Pascha candle, symbolizing Christ, goes out to give light to his apostles, represented in the smaller lights of the faithful that the girls, in turn, help to light. Anyone who has been to a Great Paschal Liturgy knows the excitement of this moment. The central truth of our faith, the Resurrection, is real, and we begin to enter into its joy!
“Then Jesus spoke to them again, saying, ‘I am the light of the world. He who follows Me shall not walk in darkness, but have the light of life.'” (John 8:12)
Materials
- Beeswax or white candle (regular taper, pillar, or larger pillar for parishes) Order a blank candle from Cathedral Candle Company
- 70% proof isopropyl alcohol (available at any drug store)
- Old rag or towel
- Acrylic paint (any brand will do like Folk Art or Americana)
- Small brushes suited to acrylic paint for all the fun, little details
- A small piece of parchment paper
- Embossing heat tool or hair dryer like this
Elements to Include
Pascha candles traditionally include the following elements:
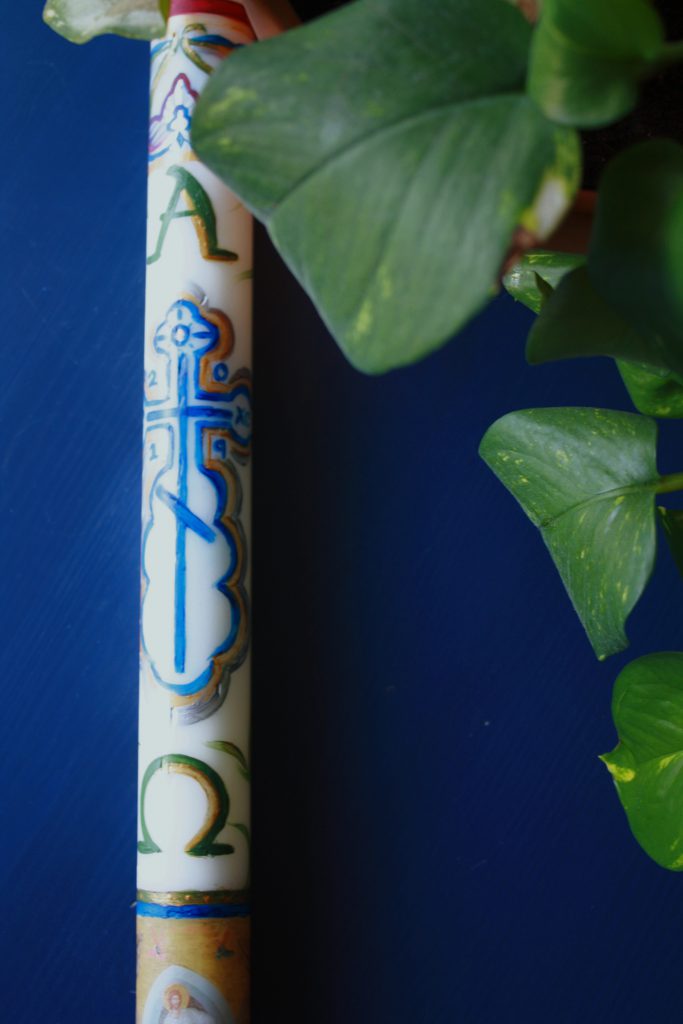
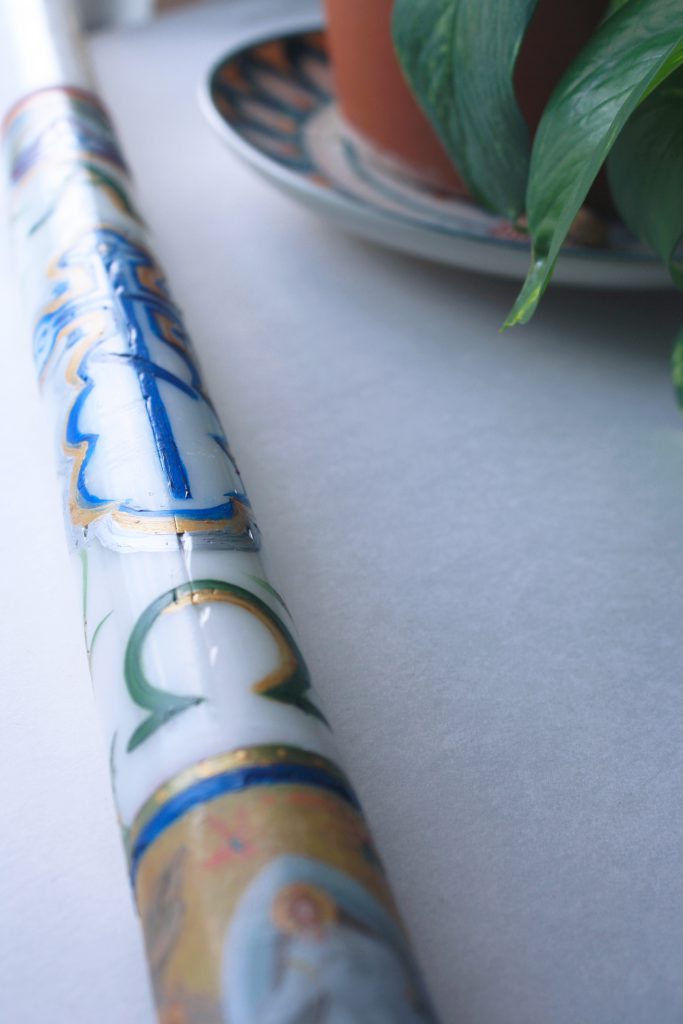
- The Cross
- Greek letters for Alpha and Omega (symbolizing that Christ is the beginning and the end)
- The Year (i.e. 2019)
- Optional: an Icon (I always love to include a Resurrection icon)
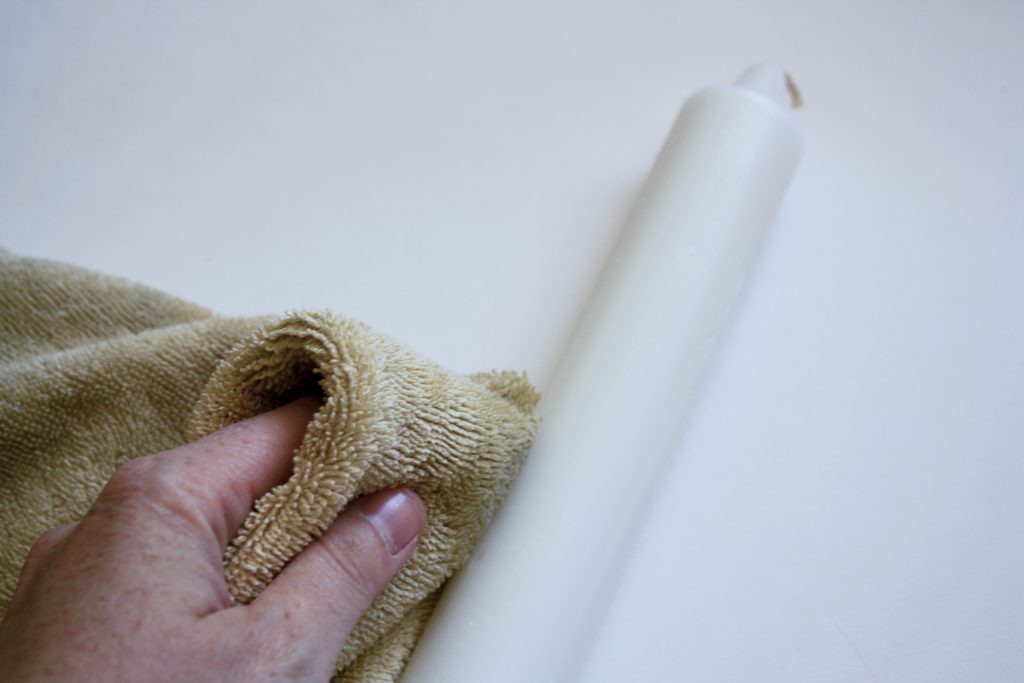
Step 1: Prepping the Candle
Wipe off the candle with rubbing alcohol with an old cloth or towel. This first step removes any residue, allowing the paint to adhere to the candle.
Step 2: Melt on the Icon
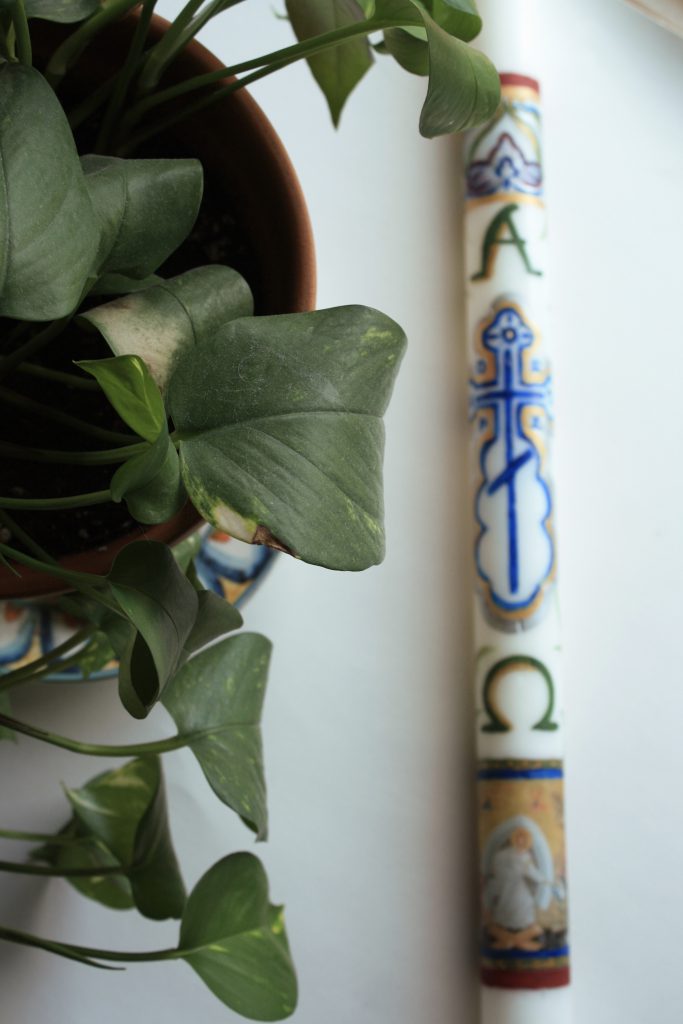
While it might seem counter-intuitive, I melt on the icon first and then work from the bottom up. This anchors the icon in the right place and helps you make sure you leave enough room for the other elements on the candle. For example, if you are painting a large vigil candle for your parish, you want to leave about a foot of empty space at the bottom of the candle so the icon is not obscured by the candle stand.
To get started, I search for the icon I want to use online, save it, and then size it to about 2×3” in a Word Document. (Basic, I know. But it works!) You can use whatever software you’re comfortable with—just make sure you have a way to print your icon in full color and in the right size to fit on your candle.
Next, place the icon on the candle, making sure it is centered and straight, and cover with a piece parchment paper that is just slightly larger than the icon. Holding both papers in place, use the embossing tool or hair dryer to melt the icon into the outer layer of the candle.
![]()
Turn off the tool just after the icon is covered in wax. The wax will quickly dry, sealing your icon into the outer layer of your candle. This is a very fun process to watch, like magic before your eyes!
![]()
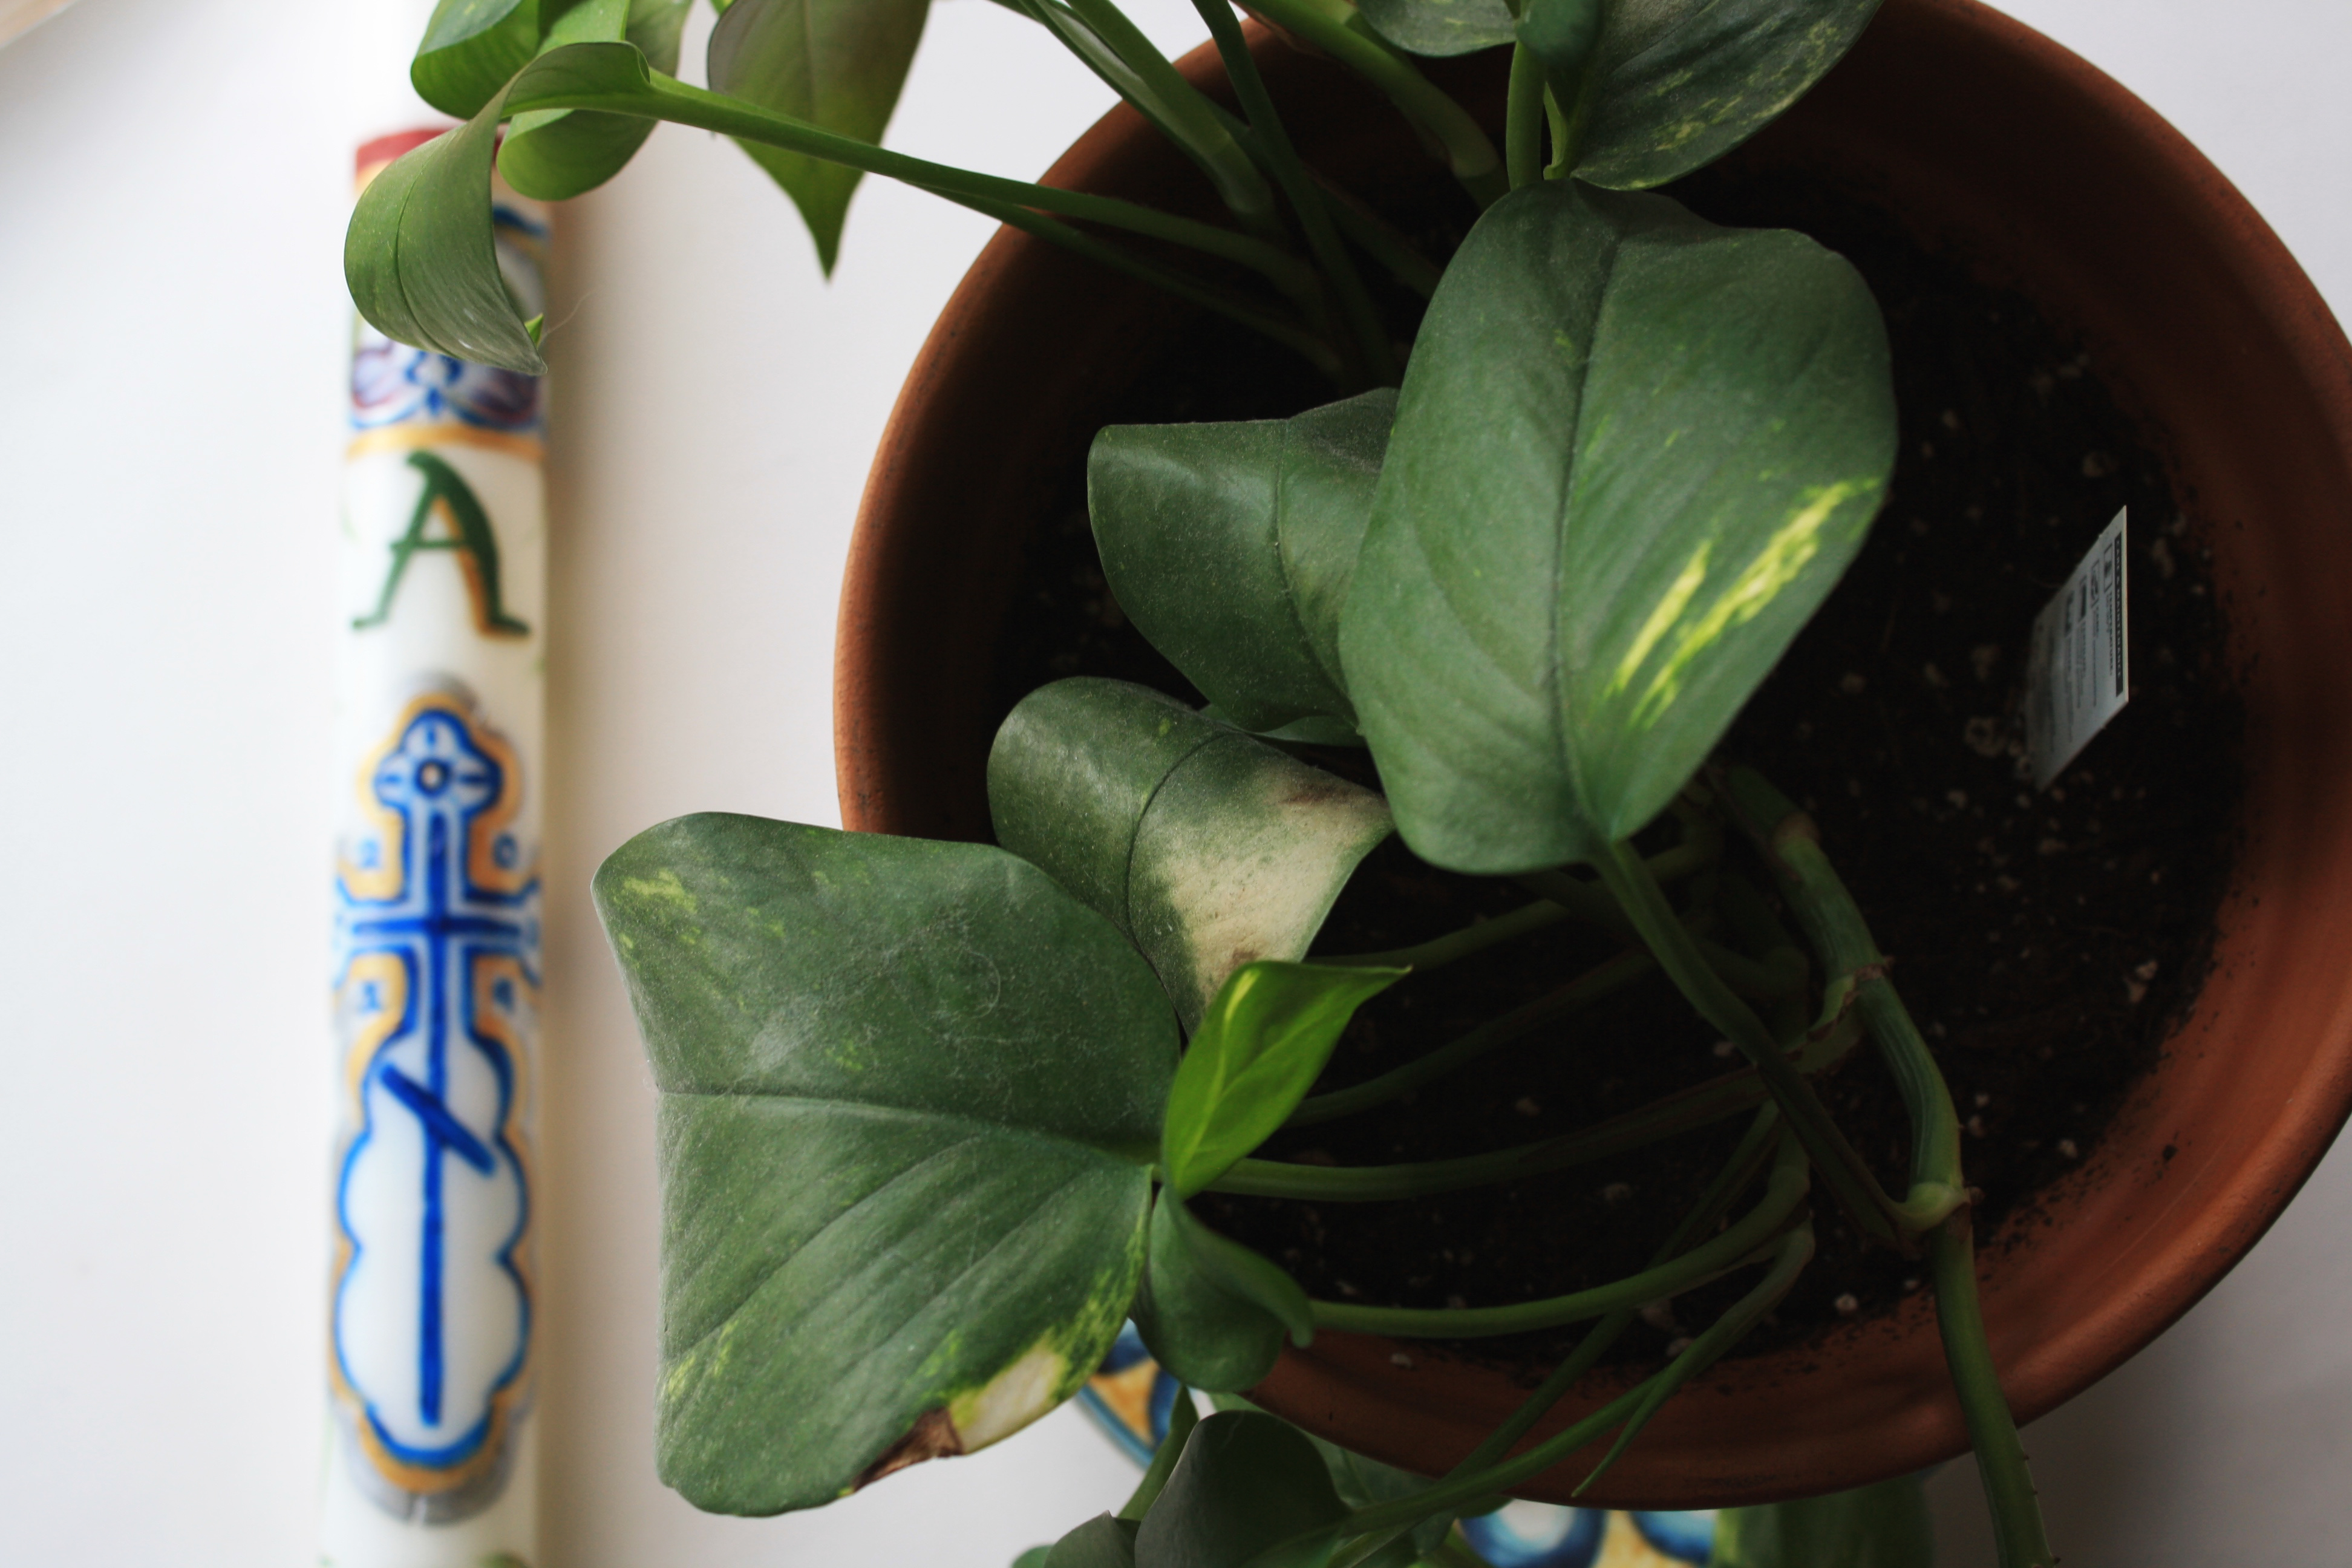
Step 3: Painting the Cross
If you only include one thing on your candle (especially for a family or personal candle), paint the cross. It is the central image!
For this year, I chose a style of cross called the St. Olga Cross. I like to choose a different style each year to challenge myself on the design and learn more about the different Orthodox expressions around the world. Also, during this step, you’ll want to leave a couple of inches between the icon and the cross—you’ll need the space for the Omega symbol 𝛀 in the next step.

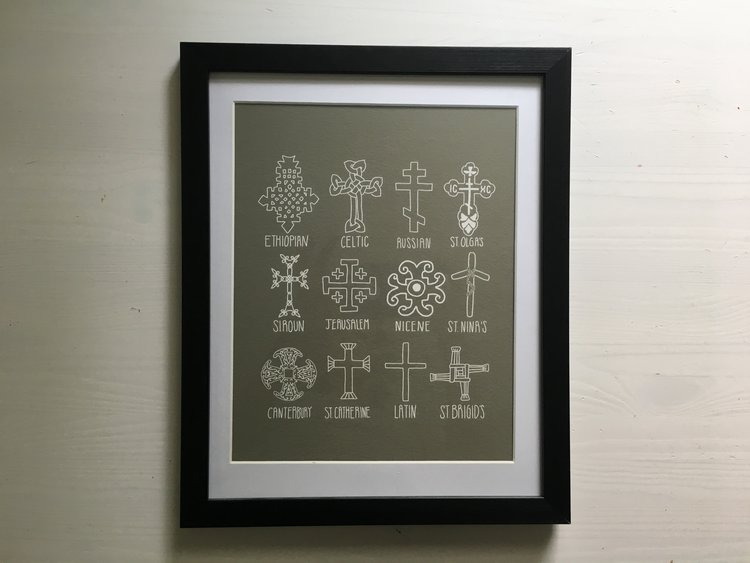
This print, called “Crosses of the World Print,” by Abigail Art Company, is a great resource for designs you might like to try on your candle. (We also have it in our boys’ room!).
It’s also a wonderful idea to include the year on your candle. This represents Christ’s presence in real time.
Some words of encouragement: painting on a round surface like a candle can be tricky at first. Don’t rush it and go slow if you need to! Consider practicing on a spare candle, and you’ll get the hang of it in no time. Also, remember to let your first coat dry before layering on extra coats to draw out deeper hues.
Step 4: Alpha and Omega, the Beginning and the End
Add the Alpha (𝚨) above the cross and the Omega (𝛀) below the cross.
Step 5: (Optional) Decorative Elements
- A decorative border above the Alpha (𝚨). I like to include floral, arboreal, light, or fruit accents to further highlight the glory of Christ’s Resurrection and the life of Spring.
- Wrap a ribbon or bow around the candle, below the icon or lowest elements.
Whether you are creating a candle for yourself, your family, or your parish, remember to enjoy the process! This year my four-year-old son joined me and painted his own Pascha candle. It was one of our best afternoons spent together! The process is a beautiful way to more enter more deeply into the meaning of Holy Week and anticipate the Resurrection!
Christ is risen! Truly He is risen!
In the Shop:
Florentine Cross Pascha Print, “For behold through the cross joy has come to the world”
Lenten Prayer of St. Ephrem, “O Lord and Master of my Life…”
Resources:
Paschal Candle, New Advent
Great and Holy Pascha, Greek Orthodox Archdiocese of America.